
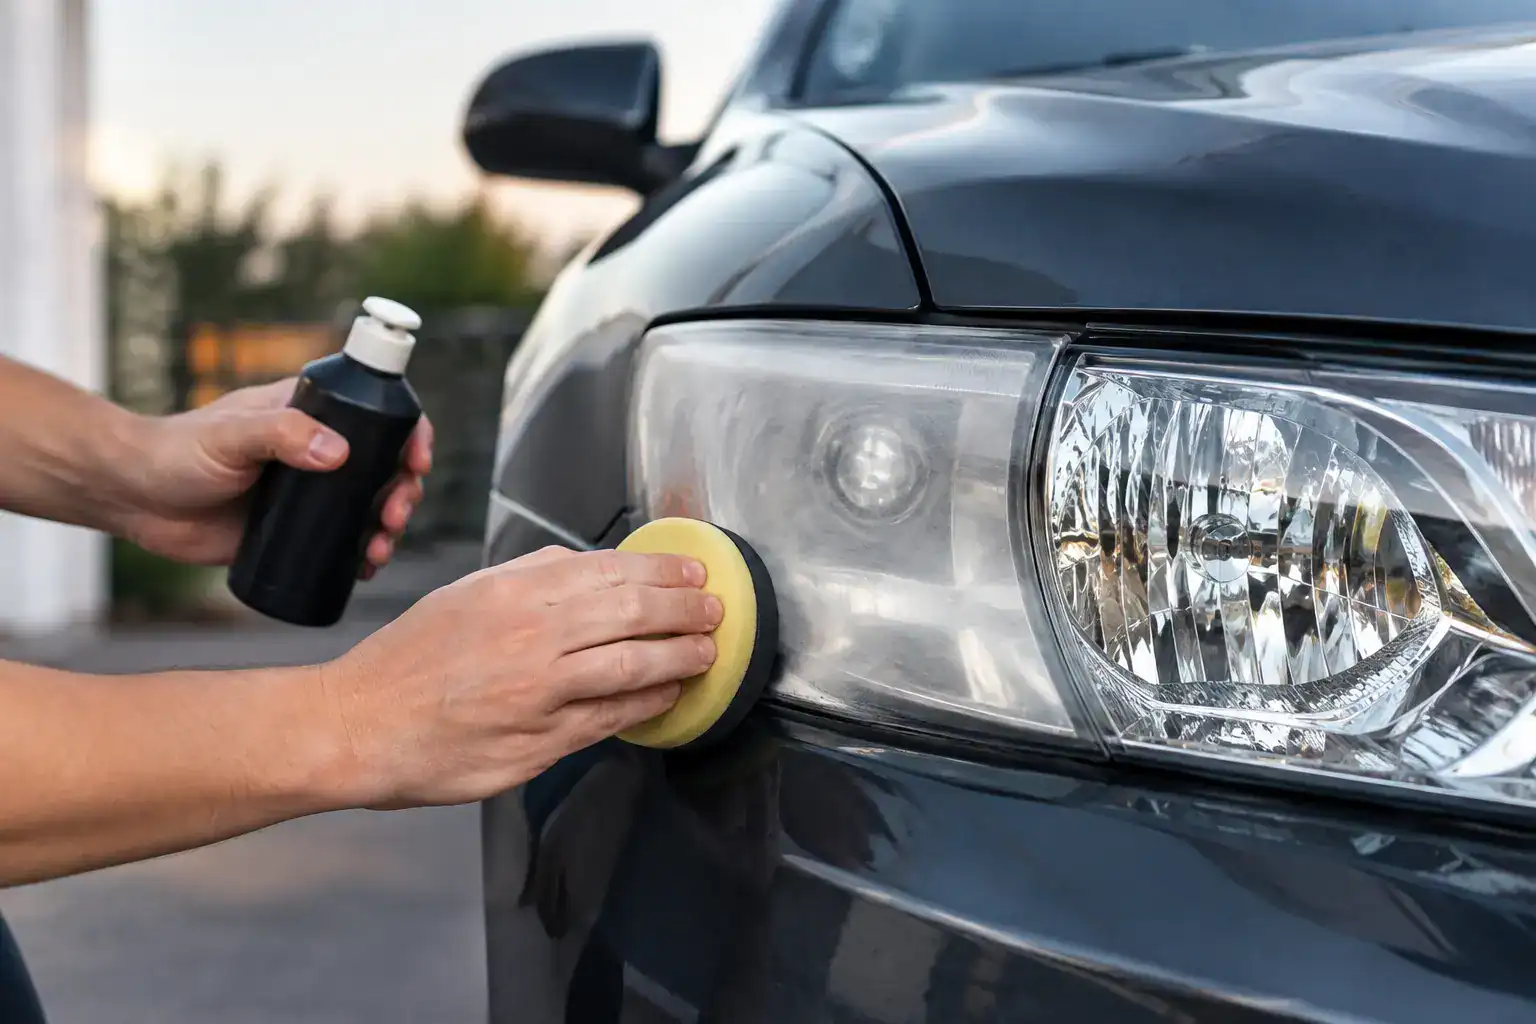
A dark Los Angeles freeway makes cloudy headlights feel worse than they look. What appears to be a cosmetic yellow haze in the driveway can scatter light across the lens at night, reduce the useful reach of your beams, and make lane markings, pedestrians, and road hazards harder to pick up early. Professional headlight restoration for night driving addresses the damaged outer lens surface that causes that haze – not just the appearance of the vehicle.
For commuters, families, rideshare drivers, and owners of older vehicles, the goal is simple: get a clearer, more controlled light pattern while preserving the original headlight housings whenever they are still structurally sound. A careful restoration can often provide a practical alternative to replacing both assemblies, which may be expensive and can introduce fitment or aftermarket quality concerns.
Why cloudy lenses affect night visibility
Most modern headlights use polycarbonate plastic lenses. Polycarbonate is tough and impact-resistant, but it depends on a clear UV-resistant coating to stay transparent. Years of California sunlight, heat, road grit, car-wash abrasion, and chemical exposure gradually wear that layer down.
Once the protection fails, the outer plastic can oxidize. The lens may turn yellow, appear milky, develop fine cracks, or feel rough to the touch. Light still comes on, but it does not pass through the lens cleanly. Instead, it scatters, creating glare near the vehicle while reducing the focused illumination that should reach farther down the road.
This does not mean every dim nighttime drive is caused by the lenses. Weak bulbs, aging wiring, cloudy reflectors inside the housing, poor beam alignment, and tinted or dirty windshields can also affect what you see. But when the lens itself is visibly dull, restoring it is an appropriate first step and often makes a noticeable difference.
Headlight restoration for night driving is more than polishing
A quick buff can make a lens look better temporarily. The problem is that polishing alone may leave oxidation below the newly shiny surface, and it does not necessarily replace the UV protection that was lost. In strong Southern California sun, an unprotected lens can haze again quickly.
A professional service should begin with an inspection. The technician needs to determine whether the problem is exterior oxidation, interior moisture damage, deep cracking, failed internal reflectors, prior repair work, or a lens that has become too thin from repeated aggressive sanding. Those conditions do not all have the same solution.
When exterior oxidation is the main issue, restoration involves controlled material removal. The damaged plastic is leveled gradually, then refined and polished back to clarity before a protective coating is applied. This is why the process matters as much as the before-and-after photo.
What a careful restoration process looks like
At Sako’s Mobile Headlight Restoration, the work is designed around correcting the lens without treating the surrounding paint, trim, bumper, or seals as expendable. Each vehicle and lens condition is different, but a proper multi-stage service follows a consistent sequence.
- Inspection and cleaning: The lenses are examined for oxidation, scratches, old coating failure, cracks, and signs of internal damage. The area is cleaned so abrasive residue and road film do not interfere with the correction process.
- Protective masking: Paint, trim, bumper edges, and adjacent panels are carefully masked before sanding begins. This step takes time, but it helps protect original finishes and keeps the work confined to the lens.
- Progressive wet sanding: Controlled sanding removes the oxidized and damaged outer layer. Depending on the condition, the surface is refined through grits ranging from 400 to 4000. Coarser grits address heavier damage; finer grits remove the sanding marks left by the earlier stages.
- Two-stage machine polishing: The lens is machine-polished in stages to remove fine haze and restore optical clarity. At this point, the headlight should look clear, but the work is not finished.
- Alcohol preparation and ceramic UV coating: The surface is prepared to remove polishing oils, then sealed with a premium ceramic UV coating. This final protection is what separates a restoration intended to last from a quick shine that is left exposed to sun and weather.
The objective is not to make an old lens look artificially perfect at any cost. It is to safely improve clarity, preserve the OEM housing where possible, and leave the corrected surface protected against the conditions that caused the damage in the first place.
Restoration or replacement: which makes sense?
Restoration is often the better value when the lens is yellowed, hazy, lightly scratched, or weathered on the outside, while the housing, mounting tabs, seals, reflectors, and electronics remain in good condition. Keeping the original assembly can avoid the cost of new parts, installation labor, and the uneven fit sometimes associated with low-cost aftermarket housings.
Replacement may be the smarter choice when there are major cracks, broken mounting points, water intrusion that has damaged internal components, burned or peeling reflectors, or severe damage inside the lens that cannot be reached from the exterior. A restoration professional should be clear about that before beginning work. Exterior sanding cannot repair a failing internal reflector or remove moisture stains trapped inside the housing.
There is also a middle ground. Some lenses have deep pitting or old repairs that can be improved substantially but may not become flawless. A responsible quote sets that expectation upfront rather than promising a result the material cannot support.
What results should you expect at night?
Clearer lenses can improve the usable output of your existing headlights by allowing more of the light to pass through in the intended pattern. Drivers often notice better definition at the road edge, clearer reflective signs, and less fuzzy glare directly in front of the vehicle.
Still, restoration does not turn halogen headlights into modern LED projector systems, and it cannot correct a headlight that is aimed too low, too high, or off-center. After restoration, it is worth checking beam aim, especially if you have recently replaced bulbs, had collision repairs, changed suspension height, or notice an uneven pattern on a flat wall at night.
Avoid assuming brighter bulbs are the fix for a cloudy lens. Higher-output bulbs may create more heat, have a shorter service life, or increase glare if the optics are already compromised. Restoring the lens and confirming proper aim usually makes more sense before changing bulb type.
How long does restored clarity last in Los Angeles?
Durability depends on sun exposure, parking habits, washing methods, and whether the corrected lens is protected with a quality UV coating. A vehicle parked outdoors every day in the San Fernando Valley or along an inland commuter route receives far more UV exposure than one kept in a garage. No coating can stop wear forever, but the right coating substantially slows the return of oxidation.
After restoration, wash the lenses with normal pH-balanced car soap and a clean microfiber mitt. Avoid dry wiping dust from the lens, harsh degreasers, abrasive compounds, and repeated automatic car washes with aggressive brushes. If you park outside regularly, keeping the vehicle shaded when practical helps every exterior plastic surface, not only the headlights.
A one-year workmanship warranty is useful because it defines accountability, but customers should also understand its boundaries. Workmanship coverage generally applies to the restoration and coating application itself. It does not make pre-existing cracks disappear or cover collision damage, rock impacts, internal condensation, failed bulbs, electrical problems, or unrelated failure inside the housing.
Convenience should not mean shortcuts
Mobile service is valuable when it saves you a trip to a dealership, body shop, or waiting room. It should not mean rushing the work in a parking lot with a single polishing pad. Proper restoration still requires clean preparation, secure masking, progressive sanding, measured polishing, and enough curing time for the protective coating.
Pricing commonly starts around $99, but an accurate quote depends on the lens material, severity of oxidation, previous repairs, the condition of each assembly, and travel distance. Very neglected lenses can require more correction than a lightly hazed pair. Asking for clear expectations before service protects both your budget and your vehicle.
If your headlights look yellow during the day or leave you straining to see farther at night, do not wait for the problem to become normal. A close inspection of the lenses is a small, practical step toward a more comfortable drive home.
Leave a Reply