
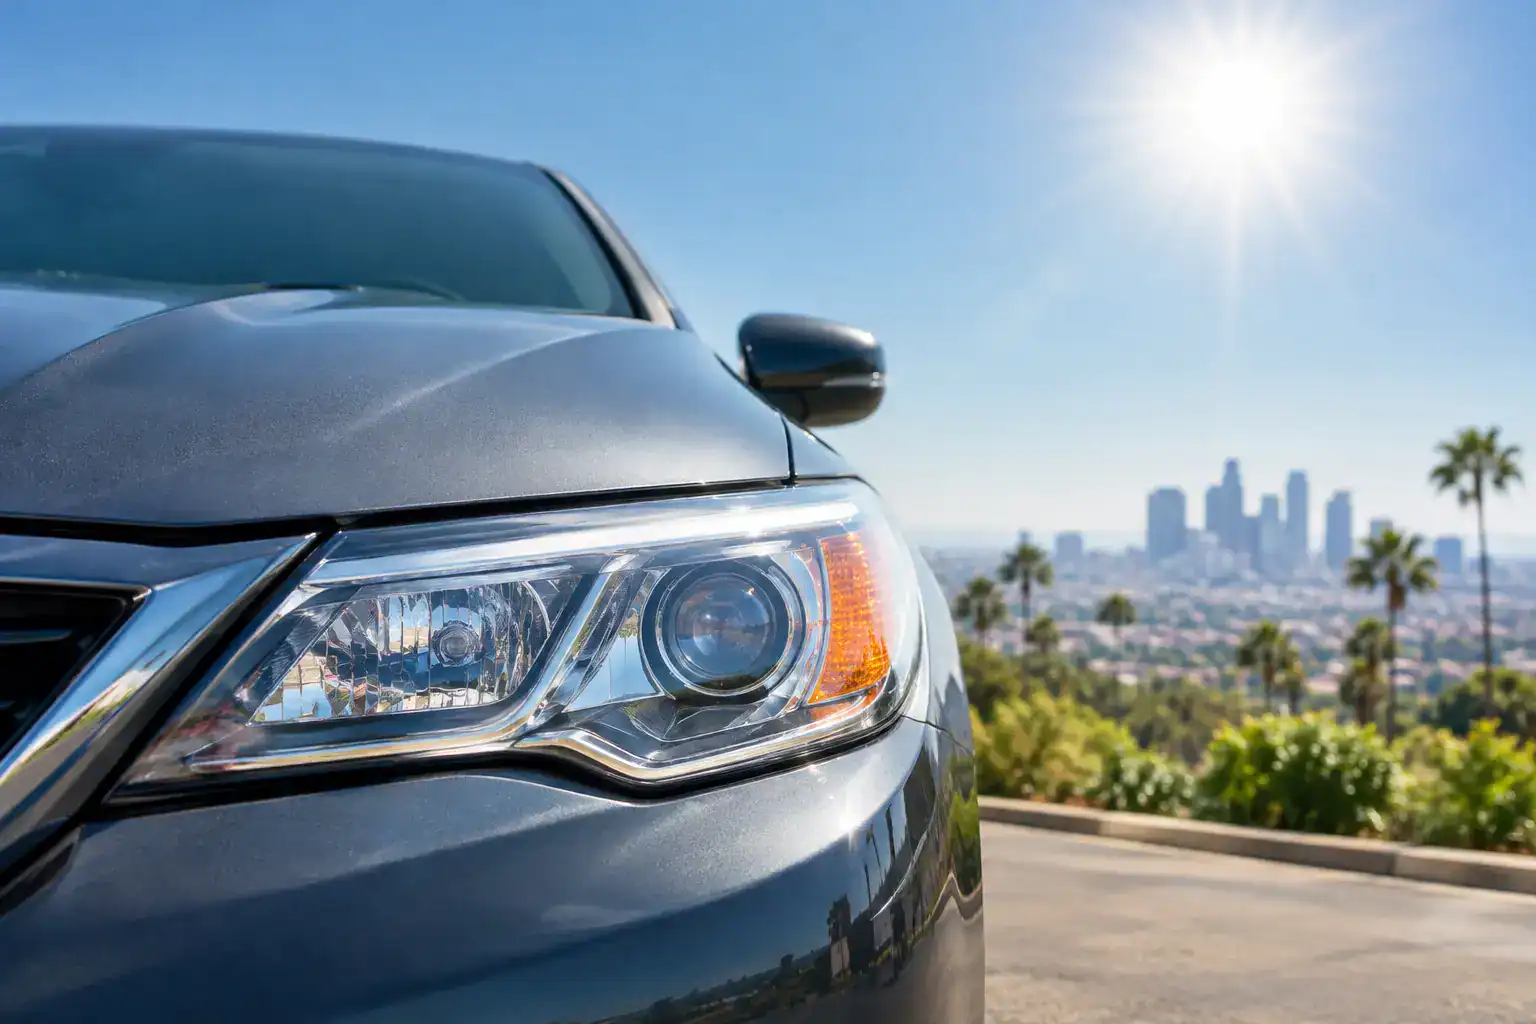
A clear headlight lens can start turning dull long before the rest of a vehicle shows its age. In Los Angeles, strong sun, heat, freeway grime, and frequent outdoor parking put constant stress on the plastic. Knowing how to protect headlights from sun helps preserve nighttime visibility, keeps the front end looking cared for, and can delay the expense of replacement housings.
The key is understanding that headlight protection is not a one-time cleaning job. Factory lenses have a UV-resistant clear layer, but that layer eventually wears down. Once it weakens, the polycarbonate plastic underneath oxidizes. Yellowing, haze, fine cracking, and a rough surface can follow. A quick polish may improve the appearance temporarily, but it does not rebuild meaningful UV protection on its own.
Why California Sun Damages Headlights
Most modern headlights use polycarbonate because it is light, impact-resistant, and can be shaped for modern vehicle designs. Its weakness is ultraviolet exposure. UV rays gradually break down the outer surface, especially on cars that sit outside every day.
Heat makes the problem worse. A vehicle parked in a sunny driveway, apartment lot, office parking structure without shade, or near the beach can experience repeated cycles of intense heat and cooling. That expansion and contraction stresses an already aging surface. Road dust, bug residue, car-wash chemicals, and salt air in coastal areas can also hold contaminants against the lens.
The first signs are often easy to miss: a slight yellow tint near the top of the lens, haze around the edges, or headlights that look cloudy only in direct sunlight. Later, the lens may feel rough to the touch or develop visible peeling in the old protective layer. At that stage, simply applying a protectant over the damage will not create a clear, durable result.
How to Protect Headlights From Sun Before They Haze
The most effective approach combines smarter parking, gentle cleaning, and a real UV barrier. Each step matters because even the best coating has a harder job if the lens is constantly covered in baked-on dirt and exposed to full sun all day.
Use shade when it is practical
A garage or covered parking spot provides the strongest protection. When that is not available, choosing a shaded side of a building, a carport, or a spot under consistent tree cover can reduce direct UV exposure. Avoid relying on trees that drop sap, berries, or heavy debris, since those contaminants can damage the finish if they remain on the lens.
A quality car cover can help when a vehicle will sit for extended periods, but it is not always the best daily solution. A dirty or poorly fitted cover can rub against the paint and lenses in windy conditions. For most commuters, intentional parking and a protective coating are more practical than covering and uncovering the vehicle every day.
Wash the lenses with the rest of the vehicle
Headlights collect the same grime as paint, but they are often skipped during a quick wash. Clean them with a pH-balanced car soap, plenty of water, and a clean microfiber wash mitt. Rinse thoroughly and dry with a soft microfiber towel rather than letting hard-water spots bake onto the lens.
Avoid household glass cleaner, abrasive pads, powdered cleaners, and strong degreasers. Some products can strip remaining protection or leave the plastic looking temporarily clean while accelerating surface drying. If bug residue is stuck on the lens, soften it with a proper automotive cleaner and water instead of scrubbing hard.
Remove contaminants before they bake on
Bird droppings, bug splatter, tree sap, fuel residue, and overspray should not sit on a headlight lens for days in direct sun. These substances can etch or stain the surface, particularly when the factory coating is already compromised. A gentle spot clean is usually enough if it is handled early.
This is especially useful for rideshare drivers, commuters, and families who rack up daily freeway miles. Frequent driving does not automatically ruin headlights, but it exposes the front end to more debris. A two-minute wipe-down after a long road trip is easier than correcting contamination that has baked into a damaged lens.
Apply UV protection that is made for headlight plastic
A dedicated headlight sealant, coating, or film can add a sacrificial barrier between sunlight and the lens. The product matters, but preparation matters more. Protection applied to oxidized, peeling, or contaminated plastic will not bond evenly or last as intended.
For lenses that are still clear and smooth, a quality UV protectant can be part of regular maintenance. Follow the product directions closely, including cure time and reapplication intervals. Do not assume a general tire shine, dashboard dressing, or spray wax is suitable for headlights. Many of these products are not engineered for long-term UV exposure on polycarbonate and may streak, attract dirt, or wash off quickly.
When a Coating Is Not Enough
If a headlight is yellow, cloudy, scratched, or visibly peeling, the sun damage has already moved beyond routine maintenance. This is where many vehicle owners waste money on DIY wipes or a quick buffing service. The lens may look clearer for a few weeks, but oxidation remains beneath the surface or returns quickly because the damaged material was not fully corrected and resealed.
Professional restoration should remove the failed outer layer in a controlled way, then refine the lens before applying new protection. The process should not be aggressive guesswork. On a properly evaluated lens, that can mean masking the surrounding paint and trim, wet sanding progressively from 400 through 4000 grit as needed, performing two polishing stages, cleaning with alcohol preparation, and applying a premium ceramic UV coating.
The sanding stage sounds intimidating, but it is often the necessary part of a durable restoration. Sanding removes damaged plastic rather than merely shining the top of it. Polishing then restores optical clarity, and the coating provides the UV barrier that the corrected surface needs. Skipping the last step leaves fresh plastic vulnerable to the same California sun that caused the original haze.
Not every lens qualifies for the same outcome. Moisture inside the housing, deep internal cracking, burned reflector material, severe rock damage, or deterioration on the inside of the lens cannot always be corrected from the outside. A careful inspection should distinguish exterior oxidation from internal damage before anyone promises restoration instead of replacement.
Ceramic Coating vs. Replacement
Replacement is sometimes necessary, but it is not automatically the best first move. Original OEM housings often fit better and may have higher-quality optics than inexpensive aftermarket assemblies. Restoring the existing housing can preserve factory fitment and cost substantially less than replacing both units.
Ceramic UV coating is not a permanent force field. Its lifespan depends on exposure, washing habits, vehicle storage, and the condition of the lens before restoration. However, it is a far more meaningful finishing step than sending a freshly sanded lens back into the sun with no dedicated protection. It also makes future cleaning easier because contaminants have less chance to cling directly to bare plastic.
For older vehicles, restored OEM headlights can be a sensible middle ground: clearer lenses, improved appearance, and better protection without immediately committing to replacement parts. If the housing itself is leaking, structurally damaged, or internally deteriorated, replacement may be the more honest recommendation.
A Simple Maintenance Schedule for Outdoor-Parked Cars
For Los Angeles vehicles that live outdoors, inspect the headlights about once a month when washing the car. Look at them from a few angles in daylight, then check whether they still produce a clean, even beam at night. Early haze is much easier to address than heavy yellowing or peeling.
Wash the lenses whenever you wash the vehicle and remove bug residue or droppings promptly. If a UV protectant was applied as a maintenance product, reapply it on the schedule recommended for that specific product. After professional restoration, follow the aftercare instructions for the coating, especially during its initial cure period.
Sako’s Mobile Headlight Restoration performs the correction and ceramic UV-coating steps at homes and workplaces across Greater Los Angeles, as well as by appointment in Burbank. The goal is not to make a worn lens look good for one photo. It is to correct the damaged surface carefully, protect the surrounding vehicle during the work, and give the lens a better defense against the conditions that caused the problem.
Your headlights do not need to wait until they are fully yellow to deserve attention. A shaded parking choice, careful washing, and proper UV protection can keep clear lenses clear longer, while early professional correction can help preserve the original housings before sun damage becomes harder to reverse.
Leave a Reply